

Creating & Editing Families
Admins create families with the Add Family wizard and edit them from the family’s detail page. Only admins can create or edit families; staff see families read-only.
Creating a New Family
Section titled “Creating a New Family”- Navigate to Admin > Families
- Click Add Family
- Fill in Step 1 of 2 — family details:
- Family Name
- Account Type for the current season
- Member Number — picked from the club’s pool of available numbers for that account type (see Add Family Wizard)
- Account ID — auto-assigned; the form shows Auto-assigned — next up: N
- Click Create & Continue, then add people in Step 2 or click Skip for now
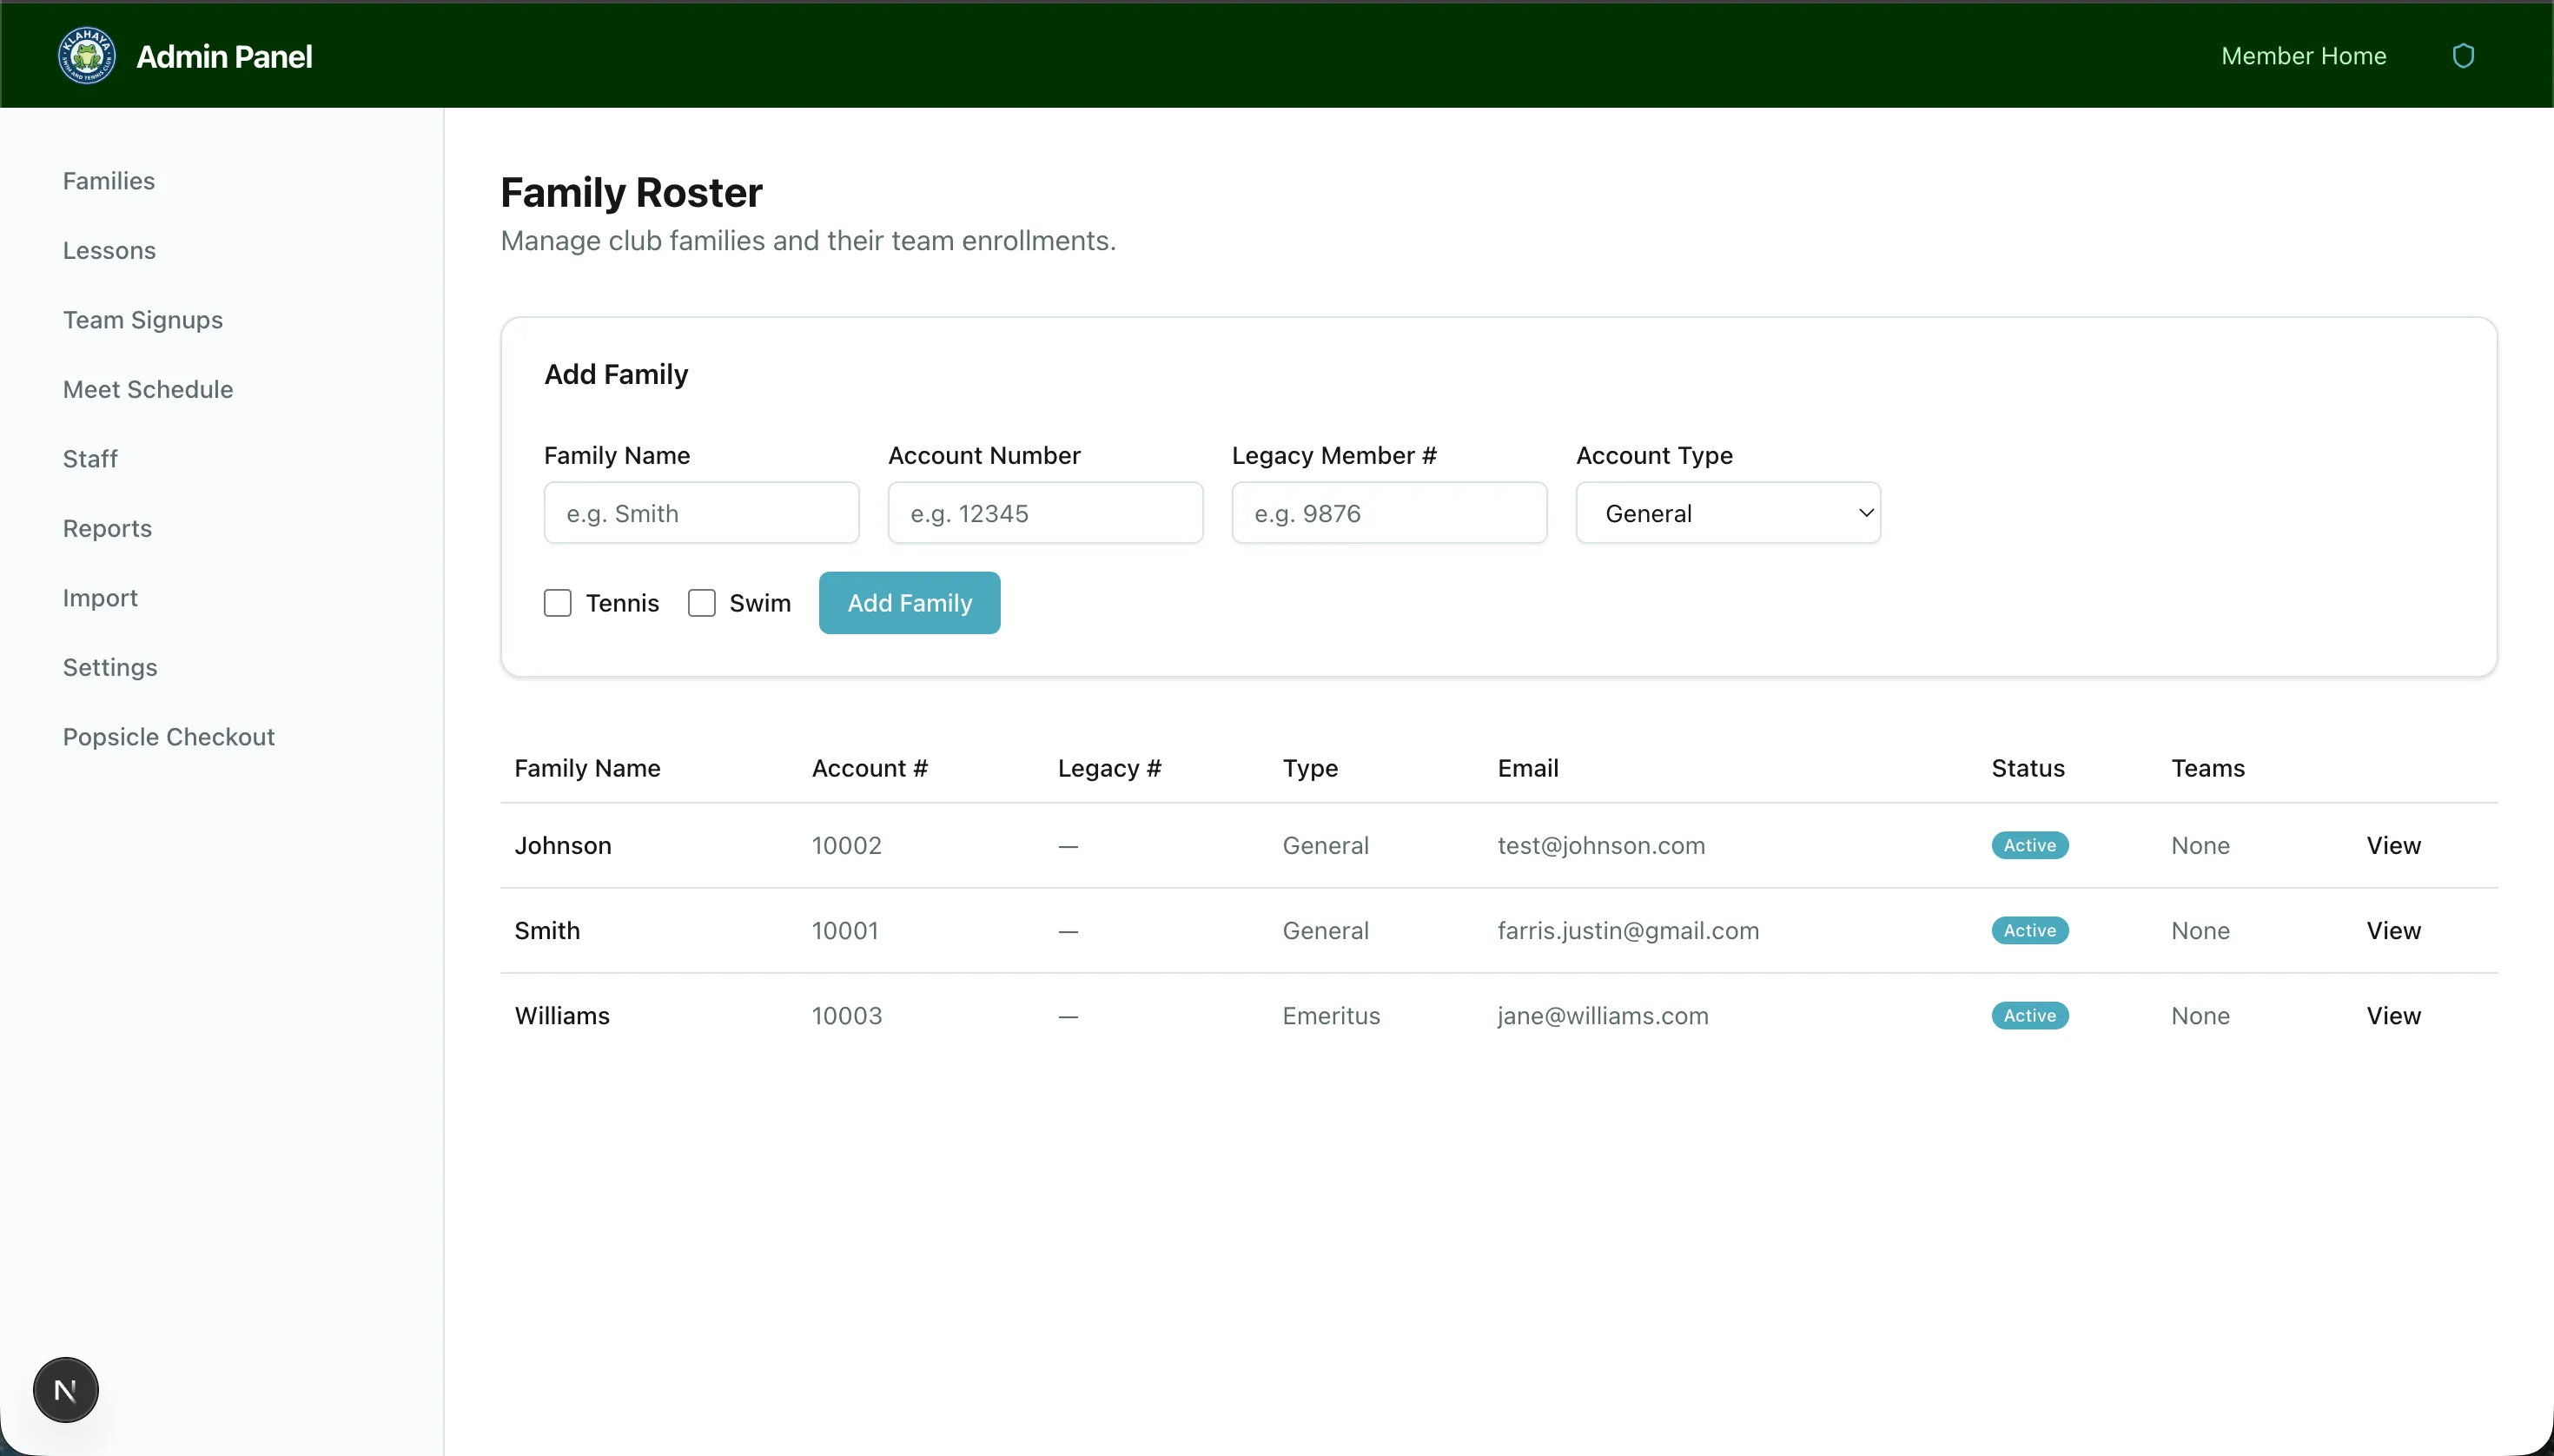
The full wizard, including how member numbers are assigned, is described on Add Family Wizard.
Editing the account record
Section titled “Editing the account record”- Open the family and click the Account tab
- In the Family record card, click Edit
- Update Family Name, Account ID, Member Number (choose from the current number, Available … numbers for the account type’s prefix, Other available, or No member number) and Account Type
- Click Save
Household details
Section titled “Household details”Address and household phone live on the Overview tab in the Household details card. Click Edit to set:
- Street address, City, State, ZIP
- Primary phone
- Member since — the year the family joined
- Directory listing — Not asked, Yes — include them or No — leave them out
Per-person contact details (cell phone, work phone, gender, date of birth) are edited on each person — see Family Detail View.
Team and activity enrollment
Section titled “Team and activity enrollment”Which teams or activities a family is enrolled in for the season (and the extra volunteer hours those carry) is edited on the Volunteering tab, in the Volunteer Activities card. The current enrollments also appear in the family’s identity line at the top of every tab, for example Summer 2026 Teams: Swim, Tennis.
Deleting a family
Section titled “Deleting a family”On the Account tab, the Danger Zone holds Delete Family. The confirmation names the family and how many members, hour entries and lesson registrations will be permanently deleted. This cannot be undone.